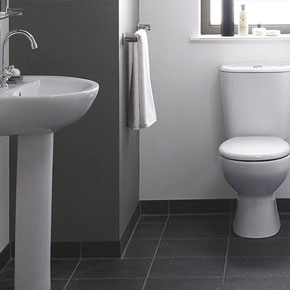
My toilet was installed 2 weeks ago, but I havent used it yet because it's so beautiful. Where else can you go that offers free delivery and free installation?! Thanks again!
DIY Toilet Basin
By understanding the complete process of installing a DIY toilet basin the task can be performed reasonably easily. Make sure you have all the right tools ready and are ready to tackle each job in a logical sequence. By taking a methodical approach your chances of getting the basin installed correctly will be maximized.
Installing the taps
It is recommended that the first thing you do is to install the taps and drains. The reason for this is that you can check that you have installed them correctly and there are no leaks before the whole unit is installed when pinpointing leaks becomes far harder. You will also find by adopting this technique that working with the screws and bolts will be far easier as you have full access without impediment.
Preparing the basin for mounting
You are now ready to mount the DIY toilet basin. Before you begin drilling the holes to mount it, check the walls to make sure there are no pipes or electrical cables where you plan to drill. Now take the wash basin and, should it have an overflow that is free standing, seal this to the waste pipe. Should your wash basin be supplied with a pop up plug mechanism, check that all the rods and levers are correctly installed so that it can work smoothly and easily. Do this before attaching the sink to the wall as any necessary alterations and modifications will be far easier when you have the space available to do them without difficulty.
Attaching the DIY toilet basin
Perform a number of checks before attaching the basin to the wall:
- With the help of an assistant, check carefully that the holes marked for the basin fittings are completely horizontal using a spirit level
- Ensure you are using high quality screws that can easily support the weight of the basin
- Make sure the pipe decline is about .25 of an inch for every foot of length for the drain pipe
- Double check that the hot and cold taps or the mixer can be easily attached to the basin when it is in position
Don’t rush soldering the connections to the water supplies, this is a very important job and should be done correctly not rapidly. Consider using a heat mat if you are not comfortable working at high temperatures, as you can use a lower flame and generate less heat. Having completed your soldering allow a 30 minute rest period to check that everything has cooled correctly and that there is no smoldering material that could catch fire. Therefore, stay in the location of the DIY toilet basin during all of this time.
Use good quality materials at all times
As a final step when installing your DIY toilet basin, make sure you have a good quality waterproof adhesive resin at your side. Seal the waste pipe and the supply pipes carefully to ensure there are no leaks. Be sure all the pipes and fittings are exactly the same size. You do not want to have to make a return trip to the DIY supplier because you made 1mm of error between pipe and fitting.

